Made for school leaders. Built for Productivity

Helping the best become even more brilliant


See our products in action
With Oodlins, you're never running your school alone. Our all-in-one platform has your back—trusted by 100,000+ users, it keeps things running smoothly, sends thousands of updates daily, and makes sure every parent stays in the loop.
Paperless enrolment, without the admin pile-up
Capture new and returning students in minutes. Forms flow into clean student records—no re-typing, speeding up admissions.
- Mobile-friendly intake for families
- Create student and guardian records in one step
- Manage intake and class placement in one place
- Export enrolment lists when needed


Why Choose Oodlins
People before paperwork. Supportive tools so educators can focus on little learners—and big smiles.
Faster
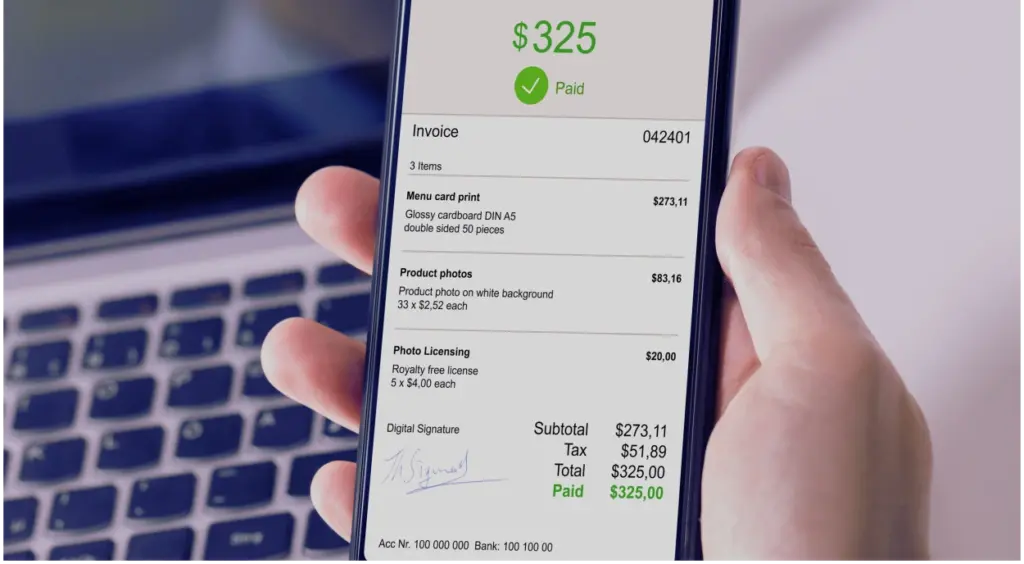
95% higher collections with automated billing and reminders. Collect more, faster.
Better
10× efficiency with Oodlins AI; 80% less paperwork. More time for little learners.
Affordable
Cut costs 70%—save $5,000+ yearly with Oodlins.
Local Support
Painless migration, training, and ongoing support. Real people in your time zone.


Ready to Get Started?
Run smarter, teach better, grow faster—with us by your side.